Rum Raisins Mini Cakes
Open Crumb Sourdough Bread
Do you believe in baking moods? Do you believe that your mood will influence your baked food? I don't. However, there are many times when I am not too much in a baking mood but I have to bake bread to feed my family. The results are most of the time in line with my mood. Other times, when my baking motivation is high, the results are diverse: worse, medium or over expectations.
Lately, I haven't been very inspired to bake bread but I did it anyway because we needed it. But baking for me is a passion and when I feel tired or uninspired I just need a break to recharge.
This is exactly what I did. Last week, I took a little break from everything, from job, from baking, from other passions and generally from the daily routine. Instead, I visited a dear friend, brought the kids to a zoo and to an animal wild park. These few days made miracles, and everybody from the family enjoyed it. In the last day, I felt I missed my kitchen and trying new baked things. Yes, that was exactly what I was looking for and this little break put me back on track as I came home full of energy and with plenty of new ideas.
I switched to a new recipe that I believed it would fit to my open crumb purpose. I went for a 20% whole wheat, a high hydration bread closed to 80% and planned to change some variables to see how the results would influence my loaves.
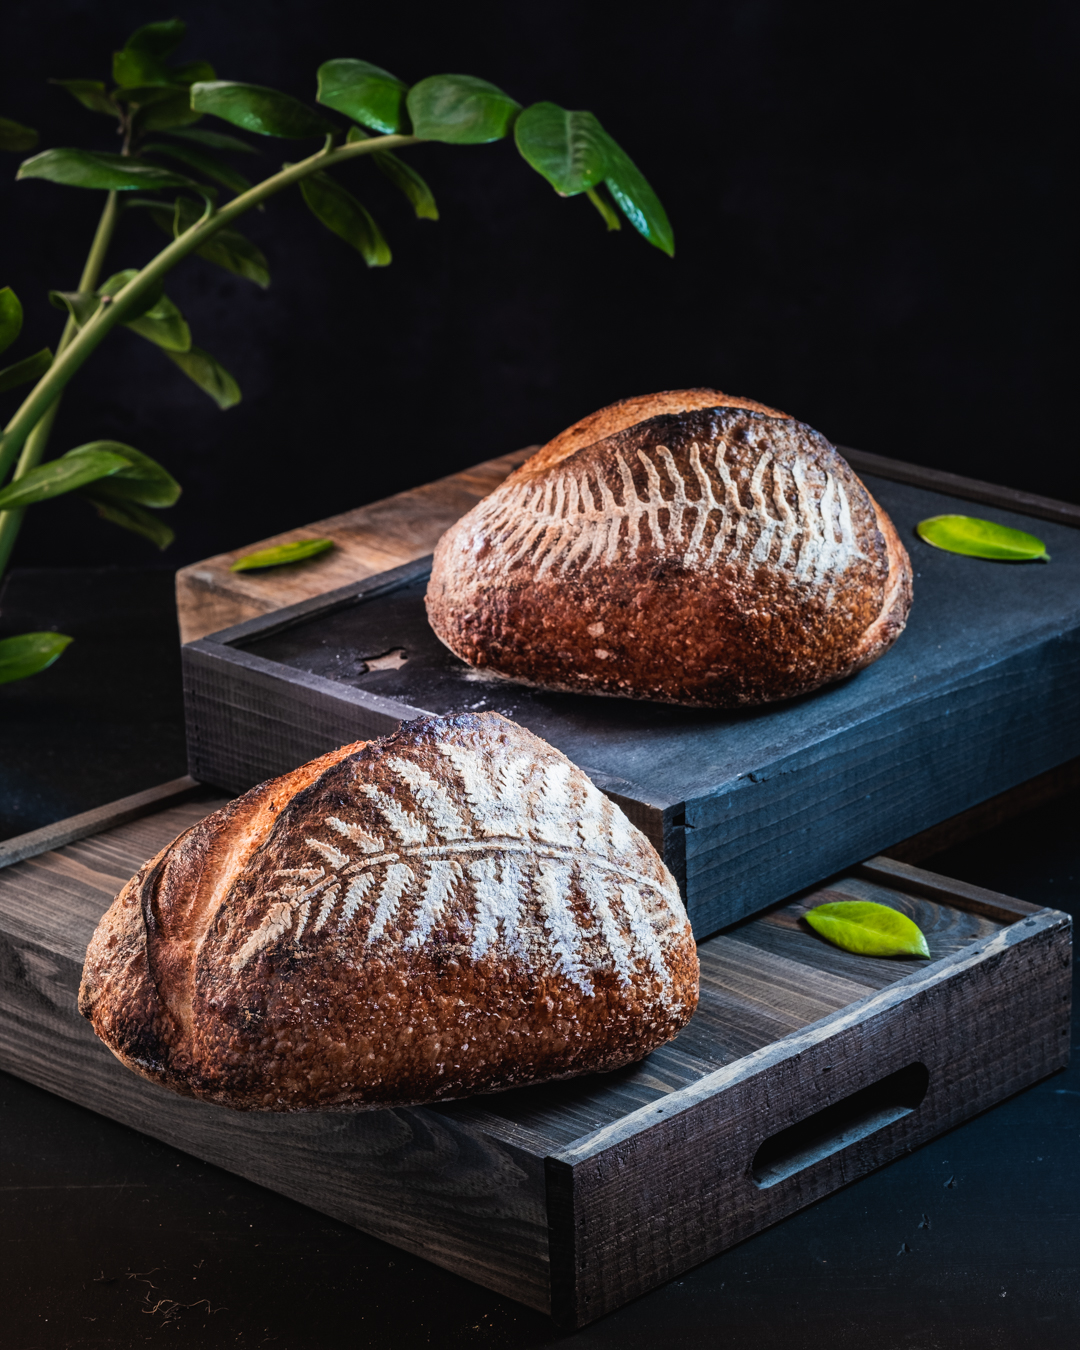
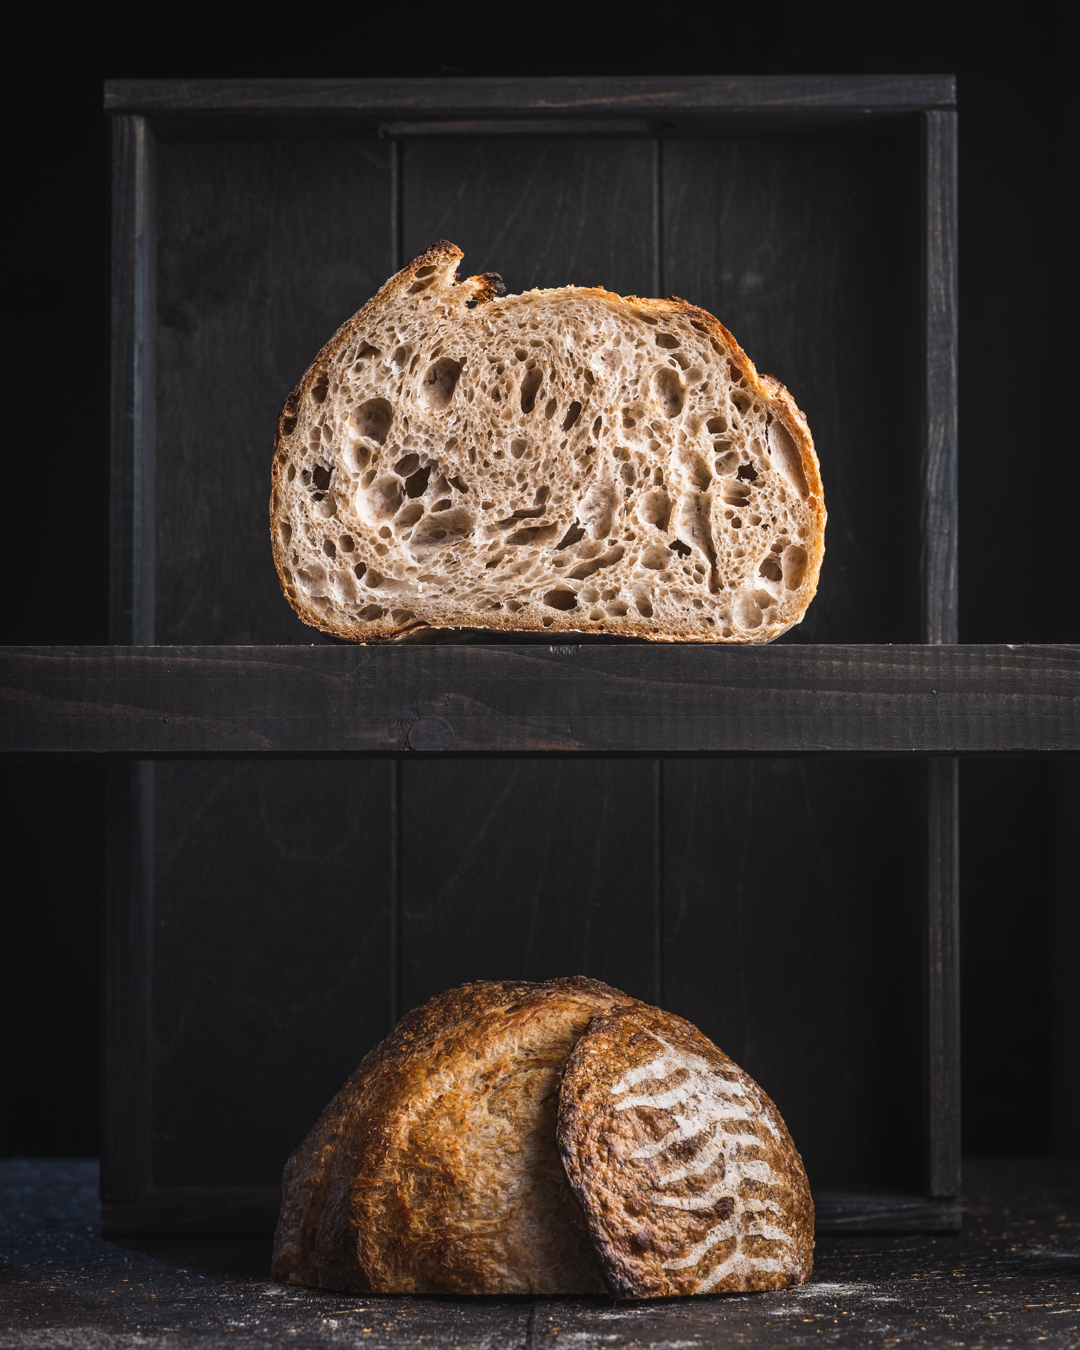
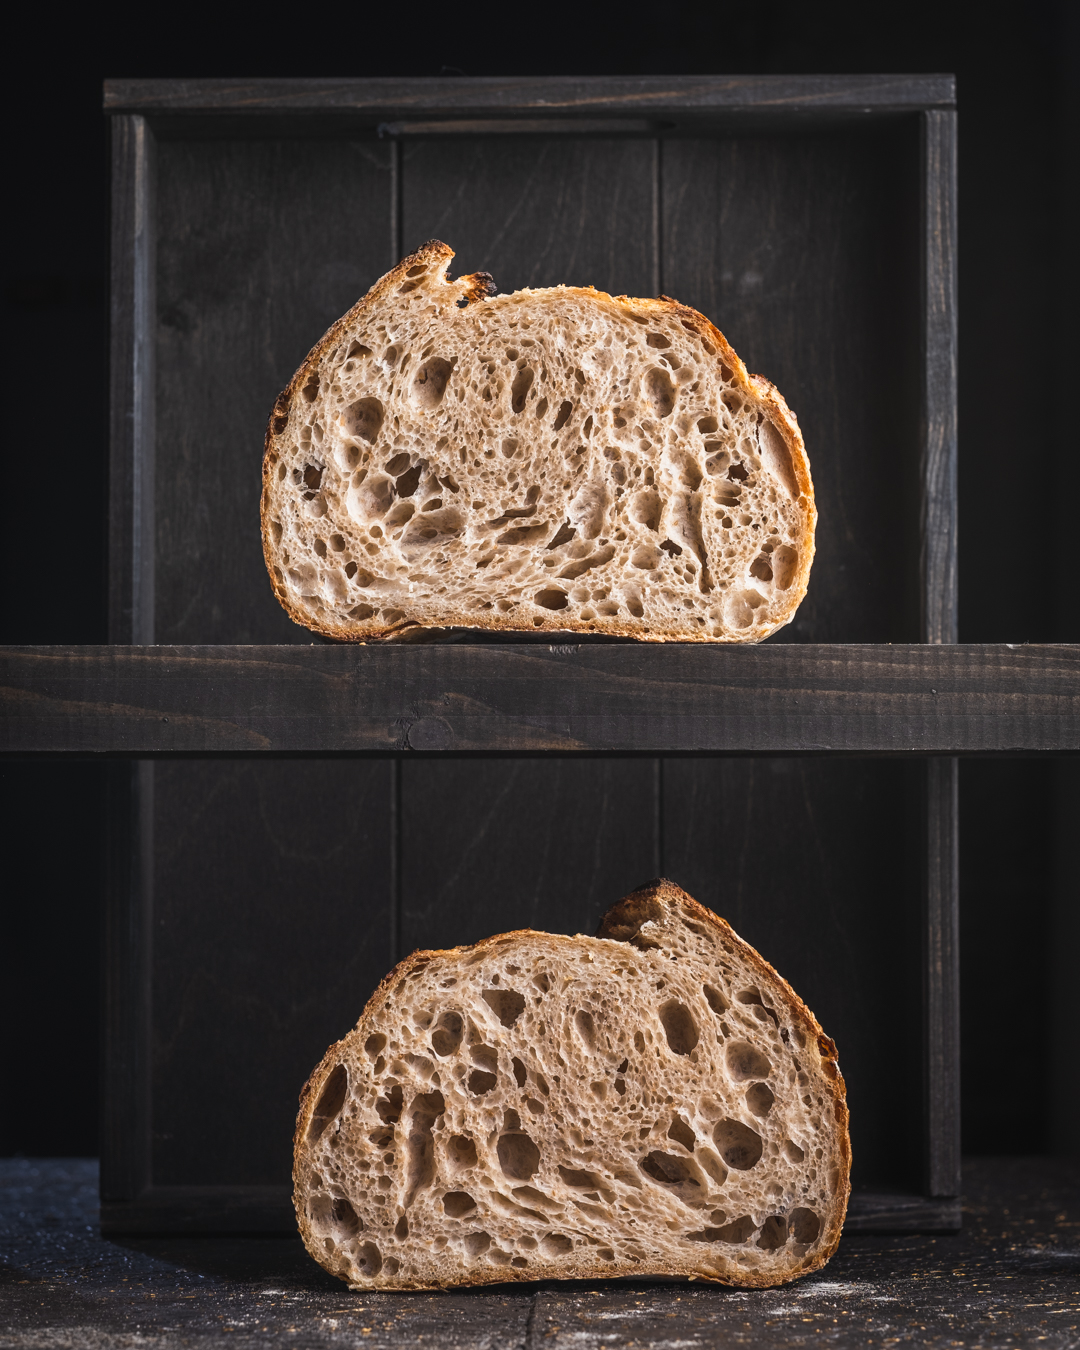
These photos are probably speaking by themselves. Leaving the modesty behind, I call this one of the best open crumb I've ever made. Open crumb for me was never the perfect bread I can produce. Open crumb is about mastering the process in order to control the results. But perfection comes with the process, not with the end result. There is no such thing as one perfect bread, there are many perfect loaves but depends on the occasion and what you are trying to achieve. There can be perfect sandwich bread, perfect rye bread, perfect whole wheat bread and so on, and yes, there can be the perfect open crumb bread. This is what I was targeting, this is what I've got. Was this related to my high baking mood? It is an interesting link but I believe in science and practice more than in the alignment of the stars in my horoscope.
Do I master the process then? Well, this comes with consistency in baking and most probably I have stepped with the right foot ahead. However, the journey is much more enjoyable than the result itself, right?
To my classical process, I made little changes and I will take them one by one to speak about these changes. In my next bake, I will try to isolate the variables to see the direct impact on the final product but for this bake, they worked very well together.
1. Hydration of the whole wheat in advance.
Hydrating the whole wheat flour in advance is not new to me. I've done it before and the results were noticeable. There is a simple logic behind it: whole wheat contains the bran of the wheat grain and it is taking much longer for the bran to hydrate than it takes for the flour. This recipe contains 20% whole wheat flour. So, the day before making the bread I hydrated the whole wheat with almost the same amount of water (reaching 100% hydration for this mini dough)and left it on the counter in the kitchen overnight. My kitchen is cold these days during the night, it barely gets 15ºC so no worries about extra enzymatic activity in the flour through my 8 hours time sleep. During the summer, I would put it in the fridge to stay safe.
2. More frequent coil folds
The bran from the whole wheat acts as a barrier in the gluten formation. Reorganising the dough more often helps with the structure and makes that only the strong bonds are kept and the weak ones are rebuilt into new stronger ones. I had started with the idea of making one coil fold every 30 minutes. This resulted in 8 coil folds. I have never done so many for a dough. As a practice, it was a little disturbing to babysit the dough every 30 minutes with a coil fold but well... when you are motivated you are not too much bothered.
3. Increased fermentation.
Pushing the fermentation to a higher extent is one of the key elements in achieving an open crumb bread. I knew that and the most tricky question is how much? What was the sweet spot? I usually put my loaves in the fridge for the retard when the ph is around 4.2. But what if I would stretch it up until 4.1? Would this be too much? Could I push it lower than 4.1?
4. Optimise the time between scoring and baking.
One of the things I've noticed is that my 2 loaves that I bake together look different. They come from the same dough so fermentation is not a high factor. But my usual process is to decorate and score the first loaf and then pass to the second and put them both together in the oven. I also tried to put already the first one in the oven after the scoring and decoration were over but it was not the best process as this first loaf would bake alone without steam until the second one was ready to go in the oven. So what I have tried was to decorate both the loaves, pass to scoring both and then put them in the oven. In this way there was no bread waiting for the other after scoring.
All these changes had for sure an important role to play in the process but some probably influenced more than the others.
Let's analyse a bit each of these changes.
The hydration of the whole wheat flour in advance was for sure a good idea. I felt in my hands a dough that was not breaking easily. This is for sure a keeper for my next attempt.
The frequent coil folds had a good impact in organising the dough and it made a fantastic net in the crumb. But, man... 8 coil folds... is a bit overkill. More coil folds is a good idea but distanced at 45 minutes maybe it would be easier (hoping that it won't destroy the beautiful crumb) next time.
Fermentation was an absolute key here. With a perfect gluten development, the fermentation at 4.14ph when shaping and 4.11ph when putting it in the fridge was matching perfectly. I am sure it would accept even a bit lower ph but not without an impact:
- bigger holes. I actually do not want them bigger, I want a slice still to remain tangible without seeing everything through it. Like this, it is perfect to accompany any dish and even to spread butter on it. Larger holes would make the loaf only suitable for soups and won't be able to hold anything soft on it.
- losing the ear. It is very probable that with a higher fermentation when exposed to heat, the bacteria won't have enough power to open an ear. Even if this is just a visual aspect and I know people who would avoid bread with ear when choosing from a shelf, it is for me proof of catching the sweet spot of fermentation.


